MongoDB is a cross-platform document oriented database, which is one of the most popular NoSQL databases. It stores its data in JSON-like documents which are more natural to work with and easier to setup.
Now, to connect to a Mongo database from a Node.js server we can either use:
- Mongo, official driver npm package
- Mongoose, elegant object modeling tool for mongo in nodejs
For this post, we're going to use Mongoose, which is widely known for having:
- Built in automatic validation of data
- Pre-define events to happen, before lets say a document gets saved
- Defining well structured schema for data
If you want to have a more deep reference to why Mongoose shines, you can visit this closed stackoverflow thread, and also the official Mongoose docs.
Spinning up a Node Express Server
Go ahead and create a new folder for this project.
Make sure to add the basic packages for making a server, we'll not go deep into any specifics other than how to get a Mongo DB instance connected to our server.
yarn add express mongooseor
npm install express mongooseWe also need some dev dependencies to securely use private keys in our dev env i.e. dotenv and nodemon to restart our server on hitting save.
yarn add nodemon dotenv -Dor
npm install nodemon dotenv --save-devNow let's configure them together, in our root file which is, index.js. You can run, nodemon index.js in the command line to run our server (or make a npm script).
const express = require("express");
const app = express();

app.get("/", (req, res) => res.send("Server is up and running"));

const PORT = process.env.PORT || 5000;
app.listen(PORT, () => console.log(`Server is running on port ${PORT}`));
Just so we're always on the same page, I've put all the code we'll write here on this Github Gist. Feel free to follow along, if you're stuck.
Add Environment Variables
While connecting to mongo we'll need to provide a connection string which can contain useful information you need to hide from open source platforms like GitHub, so let's put them in environment variables using the package called, dotenv.
So, create a file in the root directory named, .env and then copy and paste the following.
MONGO_PROD_URI=<prod key here>
MONGO_DEV_URI=<dev key here>
We'll put the actual strings here, after while exploring corresponding strategies. Finally, to be able to use these keys in our server, we need to add this line on top of our index.js.
require("dotenv").config();Add Mongoose to Server
We've already installed the package, mongoose and now we can setup up this thing on index.js.
const mongoose = require("mongoose");

mongoose
  .connect(process.env.MONGO_PROD_URI, {
    useNewUrlParser: true,
    useUnifiedTopology: true,
    useCreateIndex: true,
  })
  .then(() => console.log("Database connected!"))
  .catch(err => console.log(err));
This is how you connect to a mongodb instance from Node js, also make sure you pass all useNewUrlParser, useUnifiedTopology and useCreateIndex options as shown above otherwise you may get a warning in your console to do just that. Refer this page on docs for more.
But remember we've not added any string to our MONGO_PROD_URI env variable, so let's see how to get one so we can start using our database.
Using in Production
We're going to use a Cloud hosted Mongo database i.e. Mongo Atlas. They have a generous free usage policy which will be sufficient for most projects.
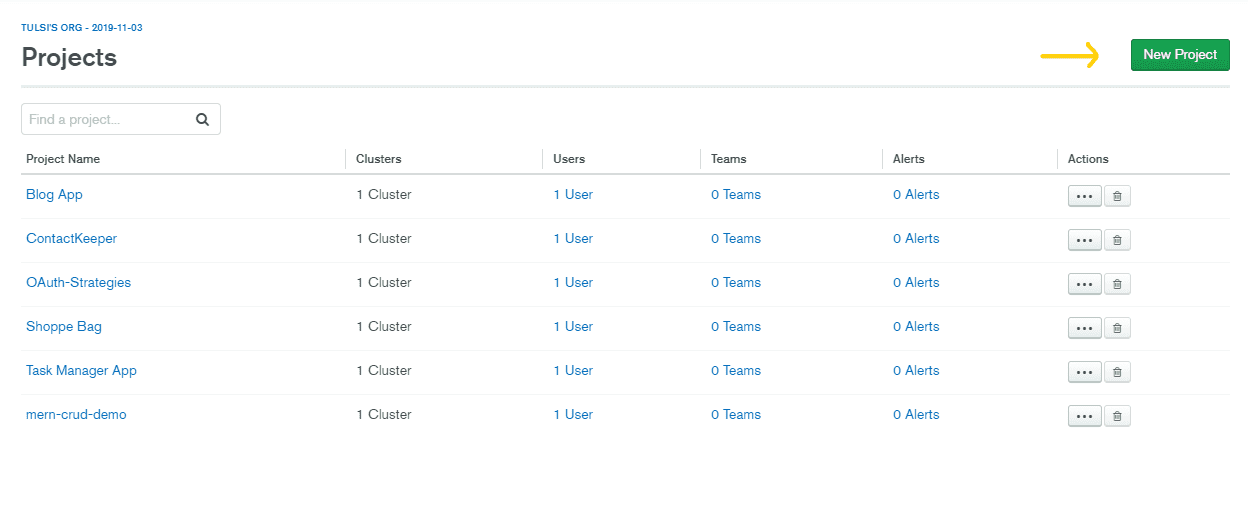
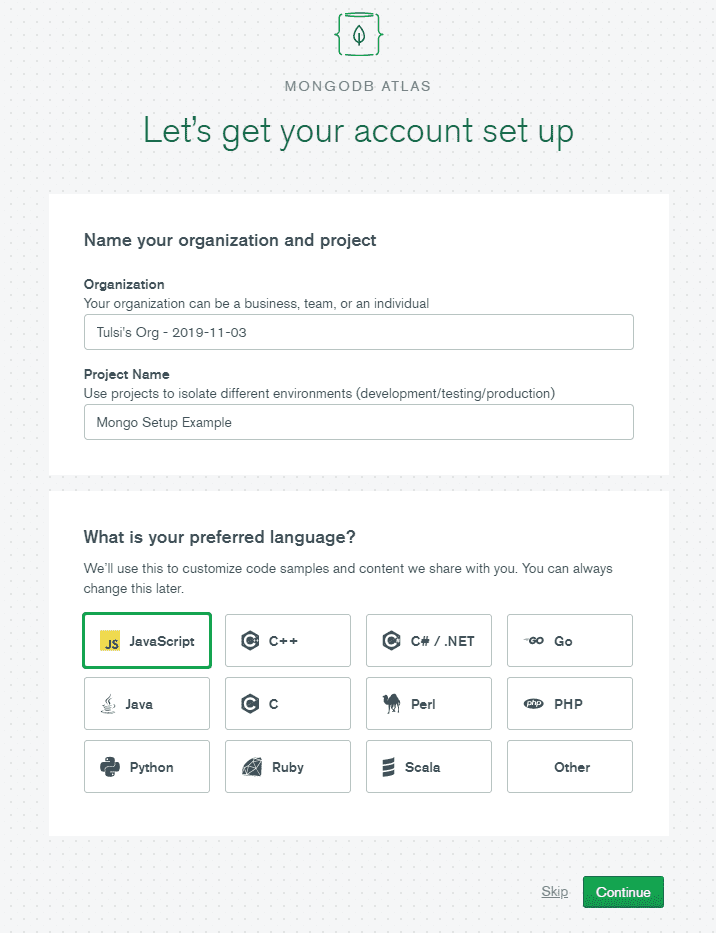
Once you're there and made an account, you'll have an organization with your name and then you have to visit the organization and click on New Project. You'll have all your projects stacked up here, when you make them. This is from my account.
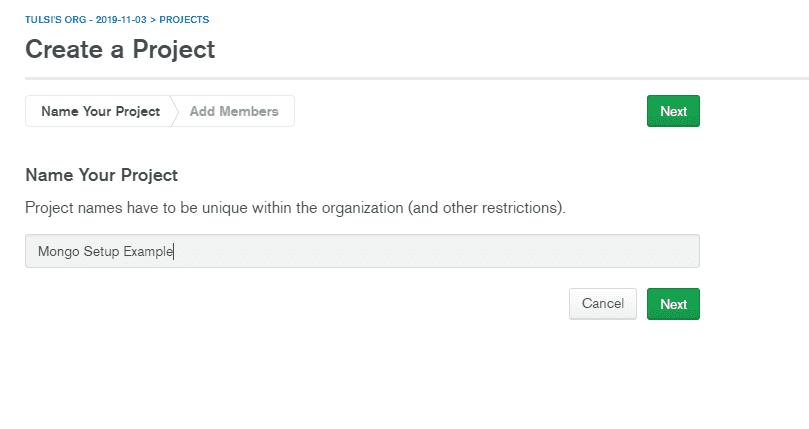
Now follow the steps to create your project, I'll share my steps below.
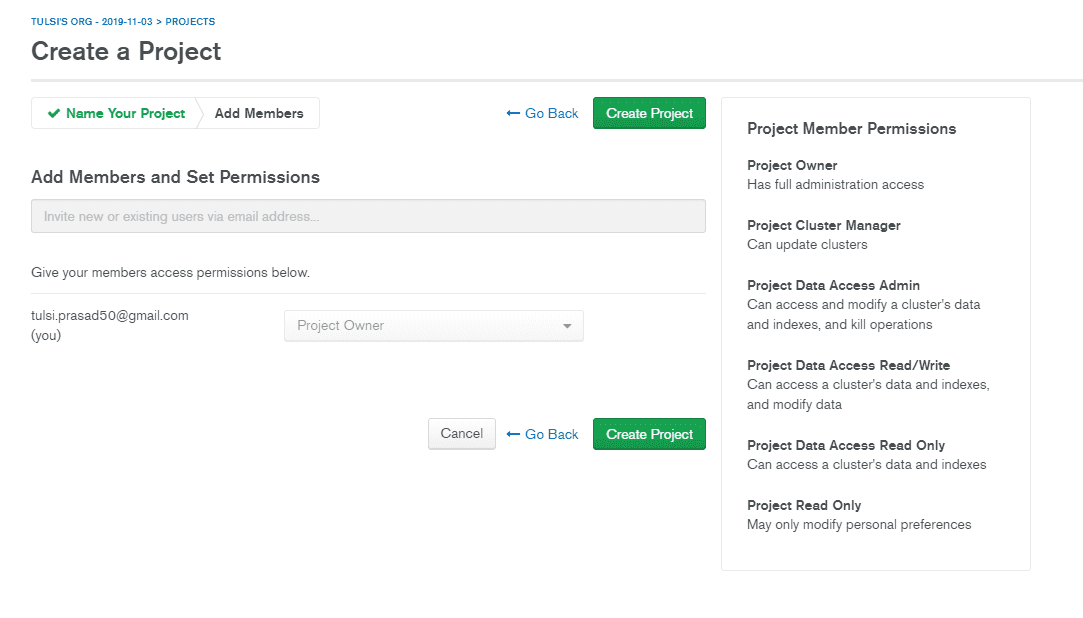
If no one else needs access to this database except for you, you can just hit create project in this step.
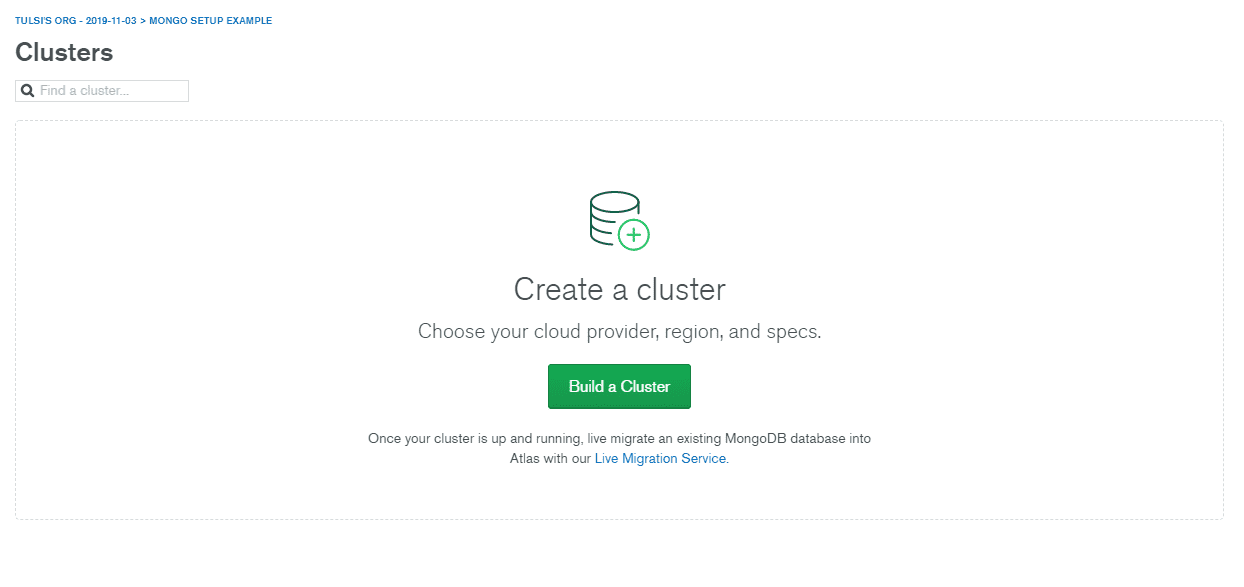
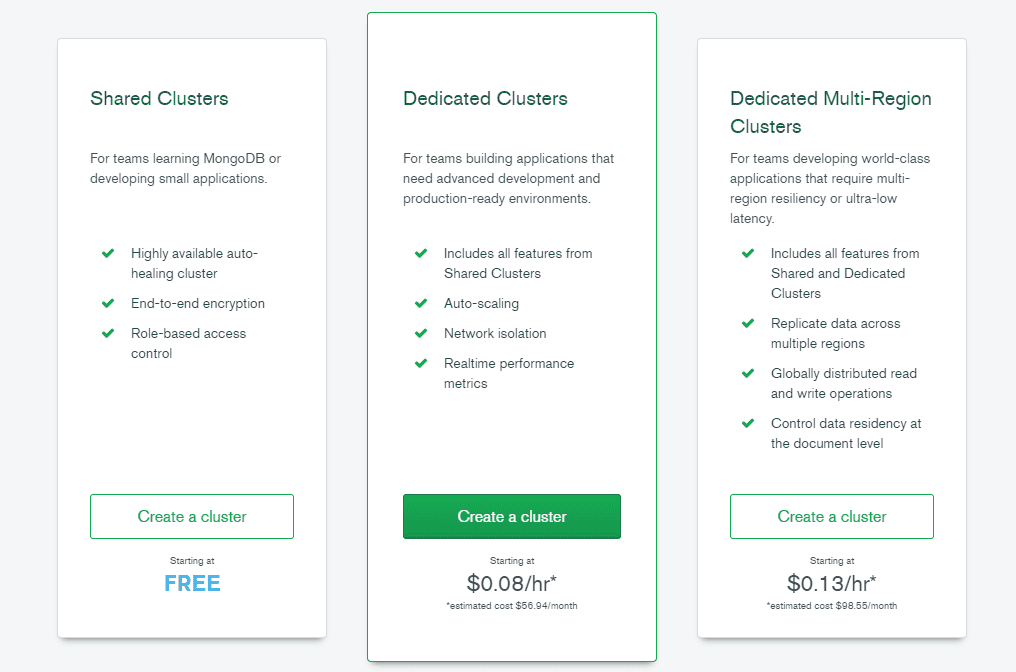
As soon as you have this page, click on Build a Cluster.
You can choose Javascript here, as that's our language of concern and continue.
Here comes the pricing part, depending upon your usage you can chose whatever you need, I'm gonna get started with the free one.
Then you can choose all the default settings and click on Create Cluster.
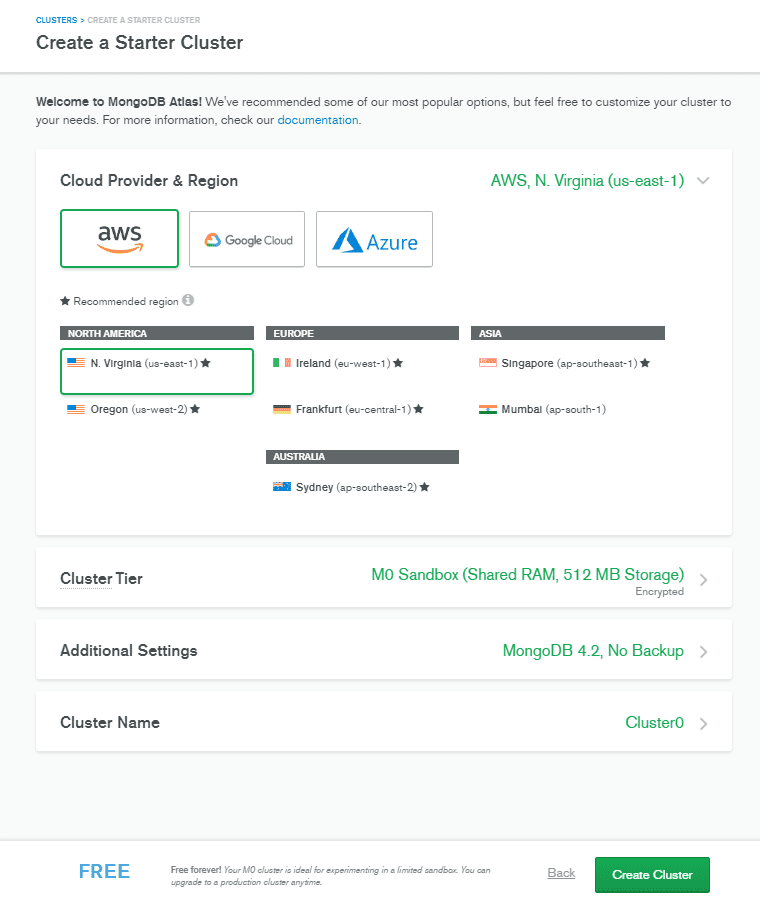
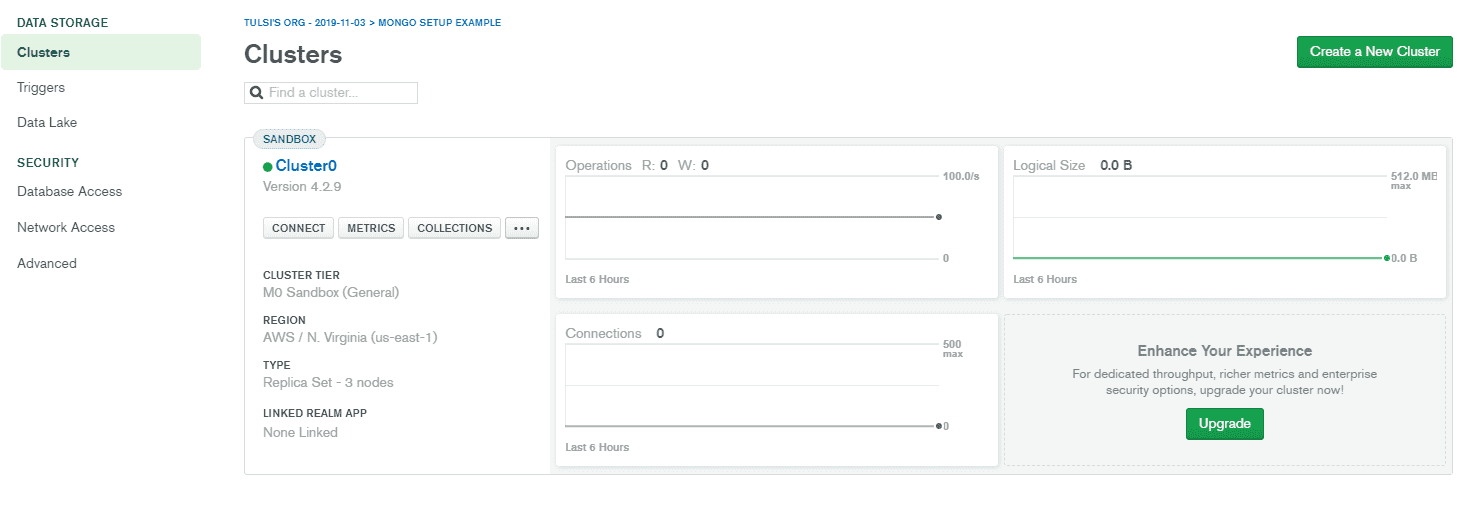
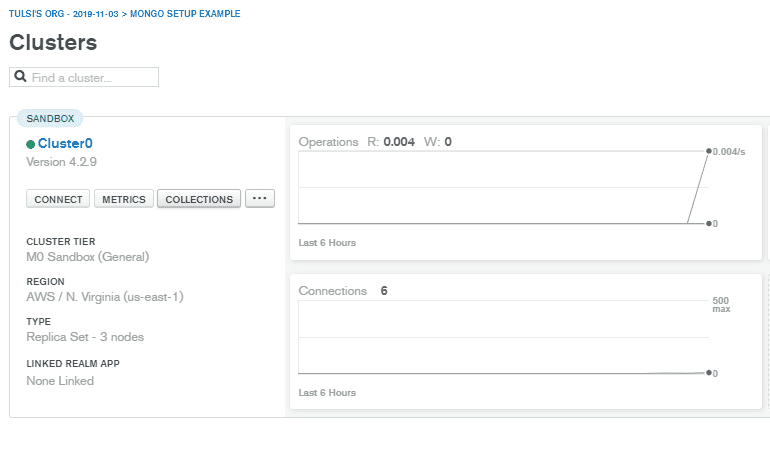
You'll see your cluster is getting created, and it'll take just a couple of minutes to be ready.
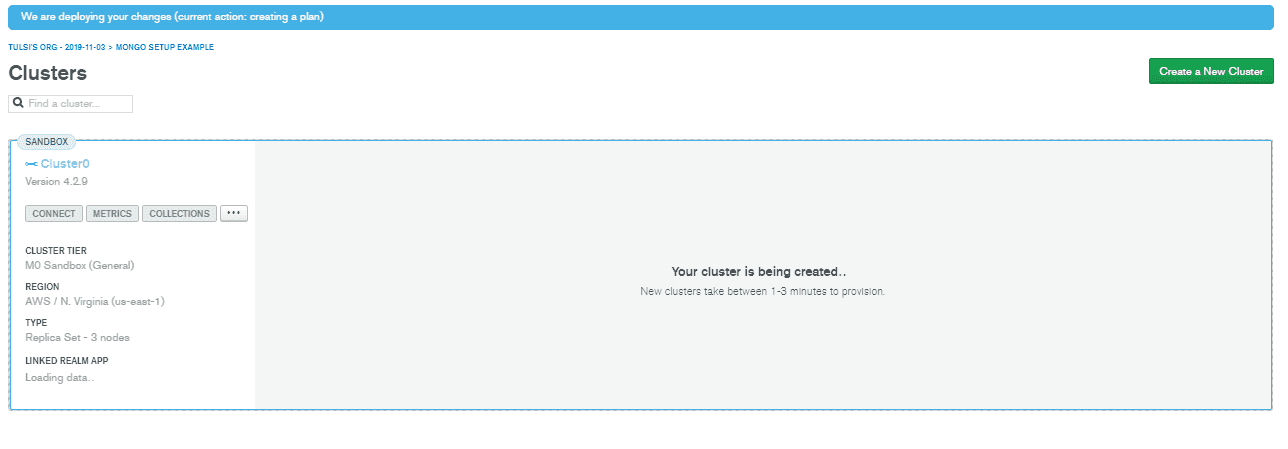
Once it's created, you'll see it like this.
Now we need to do two things, before we can get our connection string for our app:
- Create a database user
- Allow database for access
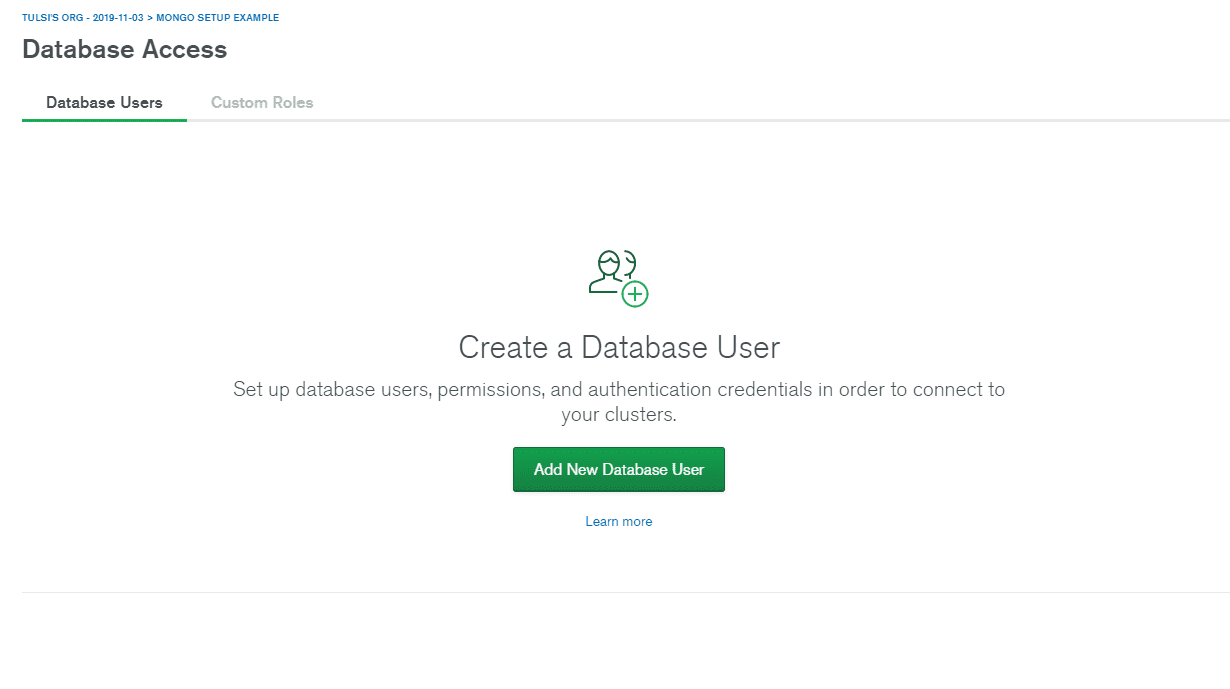
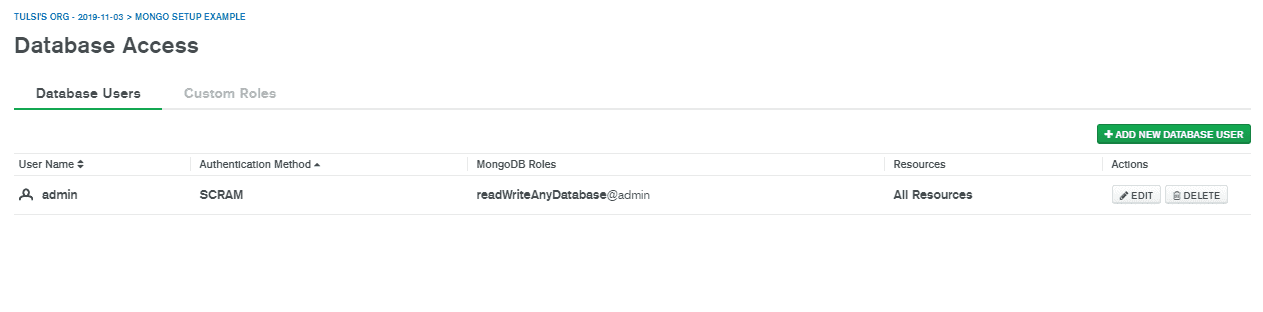
For the first step, you can go to the left sidebar and select Database Access.
Then you can click on Add New Database User.
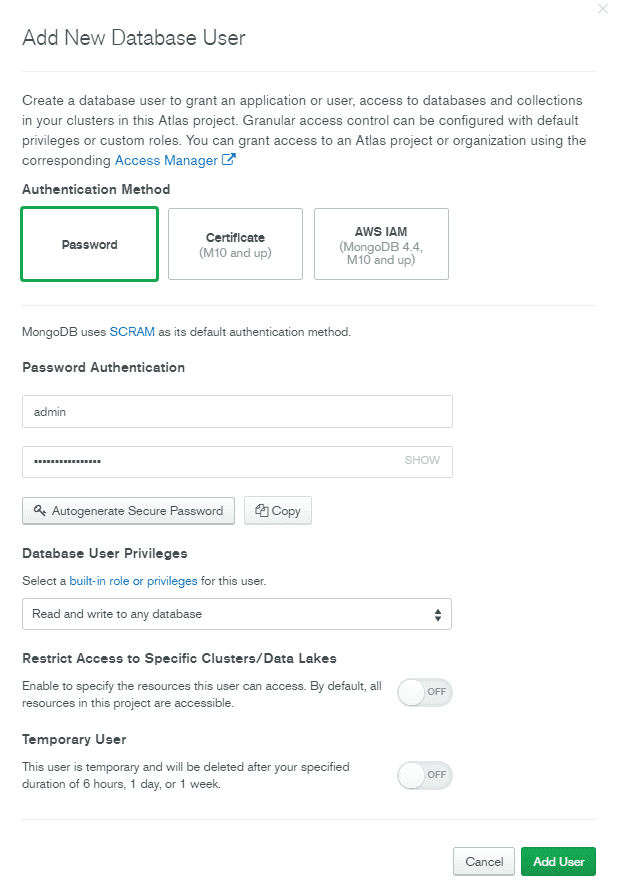
Then you can add a password authentication with required access rights for this user. I have named the user as admin and given it a password, do that step and click Add user.
Once it's done the user will appear on the database access list, like this.
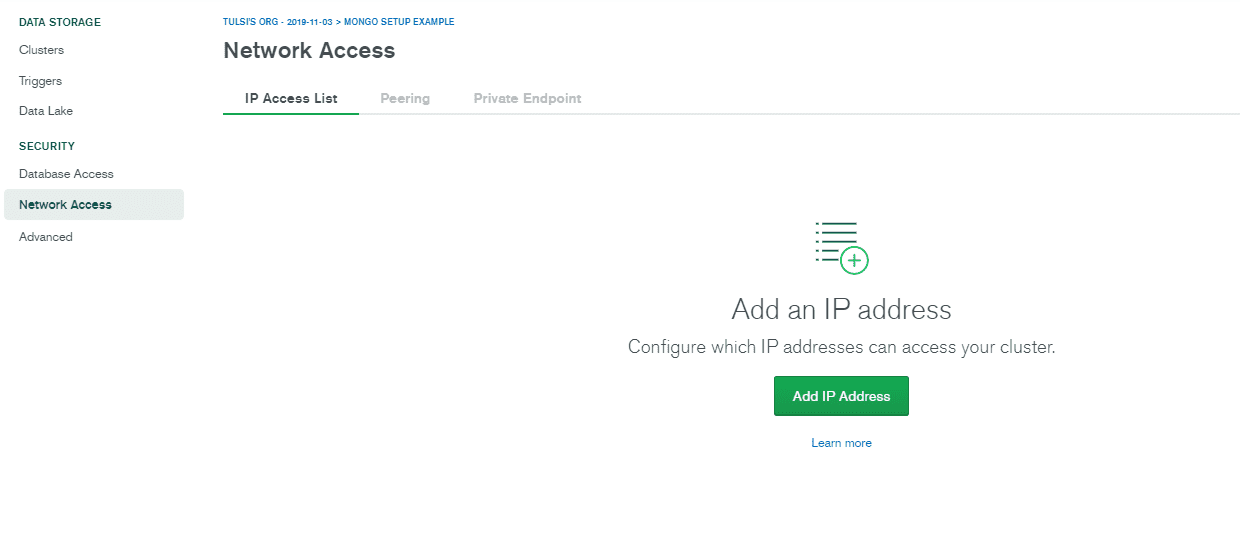
Now, for the second step we shall allow networks to access our database, by whitelisting our IP address. For this come to the Network Access tab on sidebar and click on Add IP address, it'll appear like this.
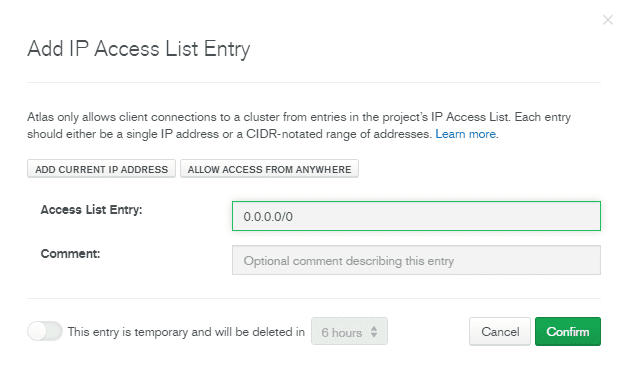
As our app could be used by almost anyone on the internet, we shall select, allow access from anywhere and then our access list entry will be filled with 0.0.0.0/0. Then you can hit Confirm.
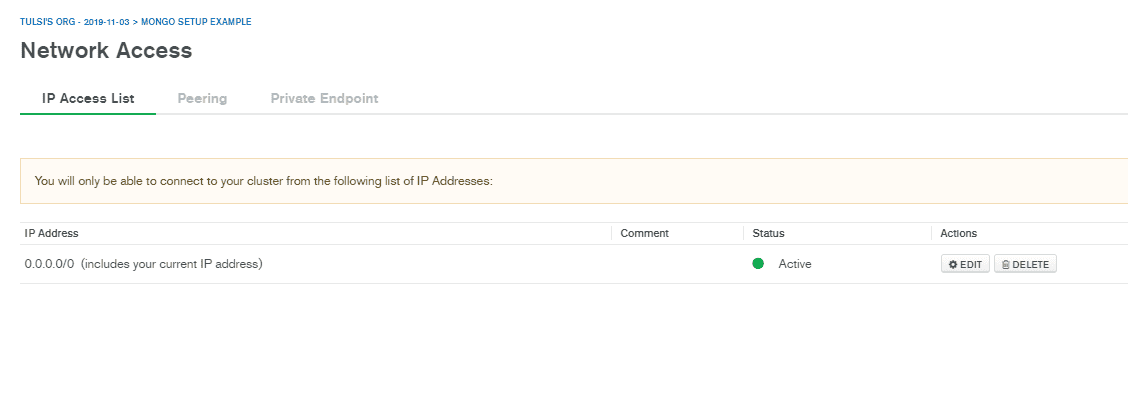
It will take sometime to setup but finally your network access list would look like this.
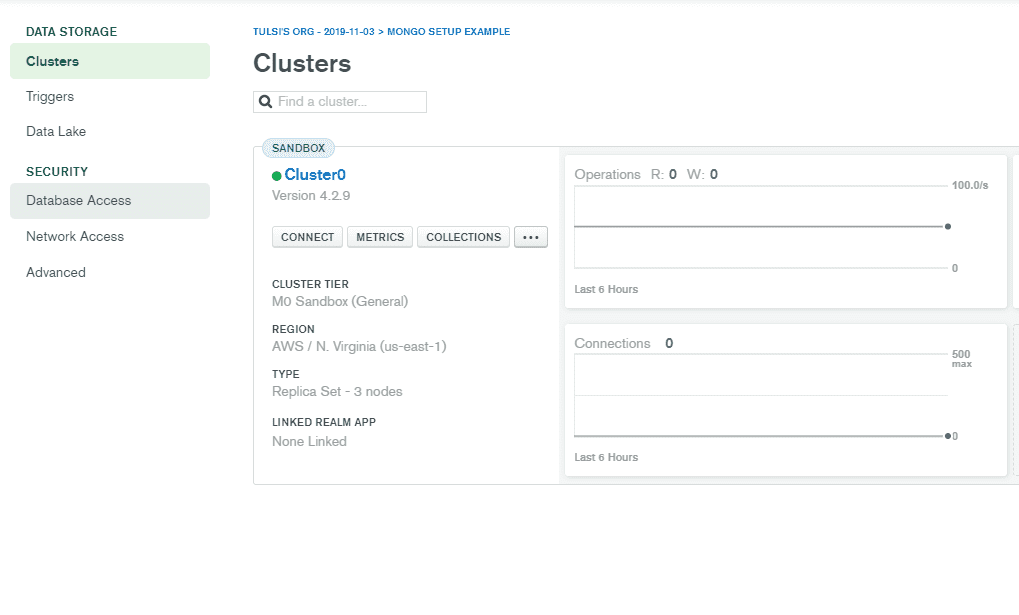
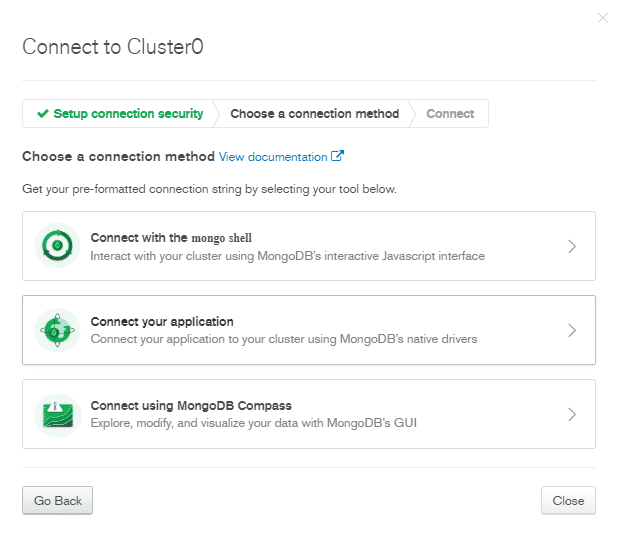
Once this is done, come to the main clusters page and inside the sandbox you should go to connect. When you hit connect, you'll get three methods to connect to your database. As now, we need a connection string to connect our application, we'll chose Connect your Application.
Here you'll get the connection string which we'll copy and paste in our .env file.
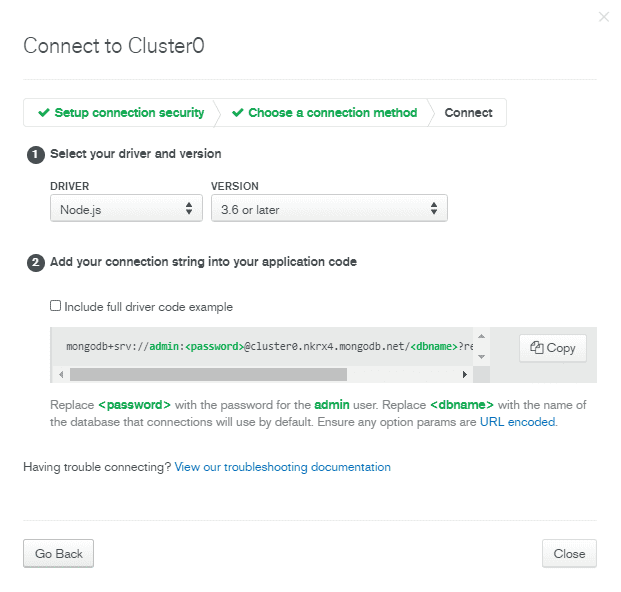
Paste the string in .env file
MONGO_PROD_URI=mongodb+srv://admin:<password>@cluster.mongodb.net/<dbname>?retryWrites=true&w=majorityMake sure to replace <password> with the password you set above in database access and <dbname> with whatever name you want to give your database.
Just so that we're on same page here, this is how my mongoose part looks like this.
mongoose
  .connect(process.env.MONGO_PROD_URI, {
    useNewUrlParser: true,
    useUnifiedTopology: true,
    useCreateIndex: true,
  })
  .then(() => console.log("Database connected!"))
  .catch(err => console.log(err));
Now hit save and let nodemon reload the server. Did you see, Database connected?
If not and you're getting a bad auth error from Mongo and a huge stack trace like this,
MongoError: bad auth Authentication failed.
    at MessageStream.messageHandler (C:\Users\alexy\Desktop\learn\mongodb-setup\node_modules\mongodb\lib\cmap\connection.js:268:20)
    at MessageStream.emit (events.js:315:20)
    at processIncomingData (C:\Users\alexy\Desktop\learn\mongodb-setup\node_modules\mongodb\lib\cmap\message_stream.js:144:12)
    at MessageStream._write (C:\Users\alexy\Desktop\learn\mongodb-setup\node_modules\mongodb\lib\cmap\message_stream.js:42:5)
    at doWrite (_stream_writable.js:403:12)
    at writeOrBuffer (_stream_writable.js:387:5)
    at MessageStream.Writable.write (_stream_writable.js:318:11)
    at TLSSocket.ondata (_stream_readable.js:717:22)
    at TLSSocket.emit (events.js:315:20)
    at addChunk (_stream_readable.js:295:12)
    at readableAddChunk (_stream_readable.js:271:9)
    at TLSSocket.Readable.push (_stream_readable.js:212:10)
    at TLSWrap.onStreamRead (internal/stream_base_commons.js:186:23) {
  ok: 0,
  code: 8000,
  codeName: 'AtlasError'
}
Then don't worry, I got this too which was because I messed up a wrong password on my .env string, so make sure you give database user password correctly and in case you forgot just change the password and add it here. Also, you should use the user password, not your account password.
Once we see this, that means our database is connected and you can start adding data.
Server is running on port 4444
Database connected!
Test adding data to Mongo
To add data using mongoose we have to setup a schema first, you can go through their Quick Start to know more about Schemas. Let's add this to our index.js.
const UserSchema = new mongoose.Schema({
  name: String,
  age: Number,
  isAdult: Boolean,
  joined: {
    type: Date,
    default: Date.now,
  },
});

const User = mongoose.model("users", UserSchema);
Now add some data, below it.
const newUser = new User({
name: "Elliot Alderson",
age: 23,
isAdult: true,
});
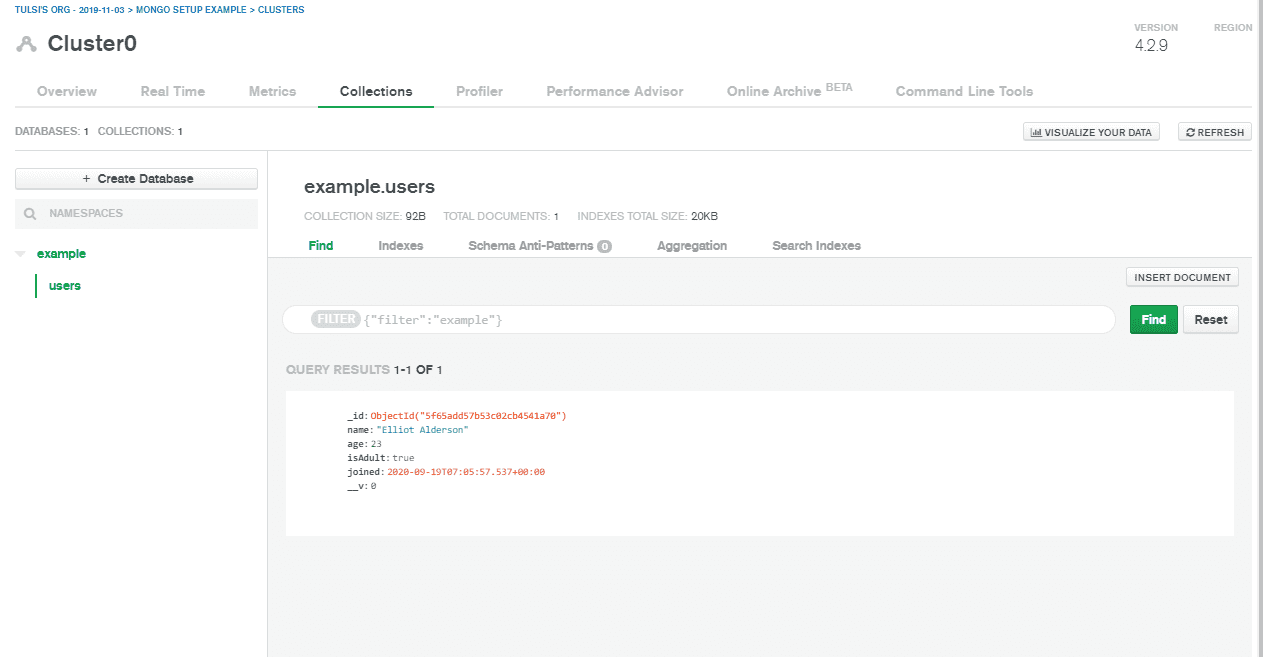
newUser.save().then(() => console.log("Saved new user"));Now when we hit save, this object gets stored in our database and you'll see Saved new user in our console. You can see the data on Atlas by clicking on Collections.
Here you'll see our newUser object stored in the database.
Using in Development
Make sure you've MongoDB installed locally
If you haven't then refer to this written guide on installing Mongo on Mac and Windows. If you prefer video tutorial then, refer to guide on Mac or Windows.
After installation you can run mongo -version from your shell to confirm the installation, also you can access all your local mongo databases through the shell by running the mongo command. To know more about using Mongo from shell, refer this.
Setting .env for local environment
MONGO_DEV_URI=mongodb://127.0.0.1:27017/<dbname>Replace <dbname> here with name of your database.
Now, the only thing we need to change to run in development is our environment variable. So in our mongoose setup we need to write, process.env.MONGO_DEV_URI instead of process.env.MONGO_PROD_URI. Let's run nodemon index.js to test our code.
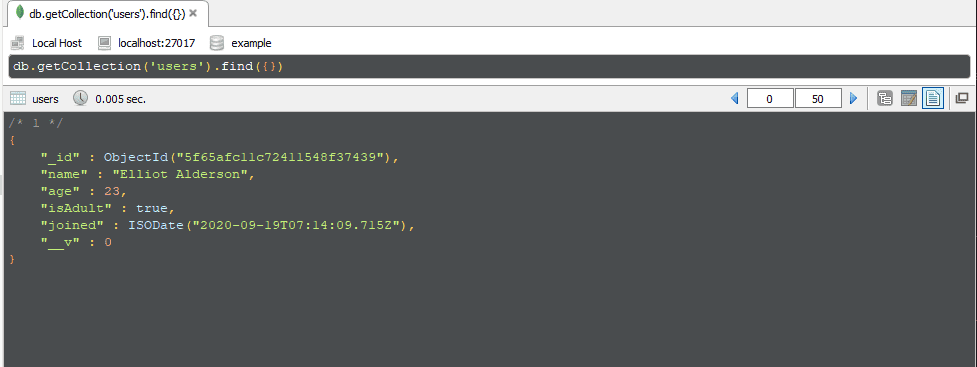
Note: While using database locally, you can run this code but you'll need to use the mongo shell or a GUI tool like Robo 3T or Mongo Compass.
I personally like Robo 3T, as it's fast and performant. This is how data on my local mongodb would look. You can download it from here.
In the end
Hopefully you learnt something new today or saved time while adding MongoDB to your server without having to fiddle around previous projects and stuff. I'd love to know your views, on my Dev.to comments or see you around on Twitter.
